It has been one year since I wrapped up the phase one budget makeover in our primary bathroom! This was such a fun project for me. You may remember that this was a project that I completed with my community on Instagram. Meaning, I presented some options for various things in the room, they voted, and I executed their vote. We also did this a few years back with the backyard makeover at our last house. It’s always so much fun to put things in your hands and do something together, and both times I’ve been so thrilled with the outcome!
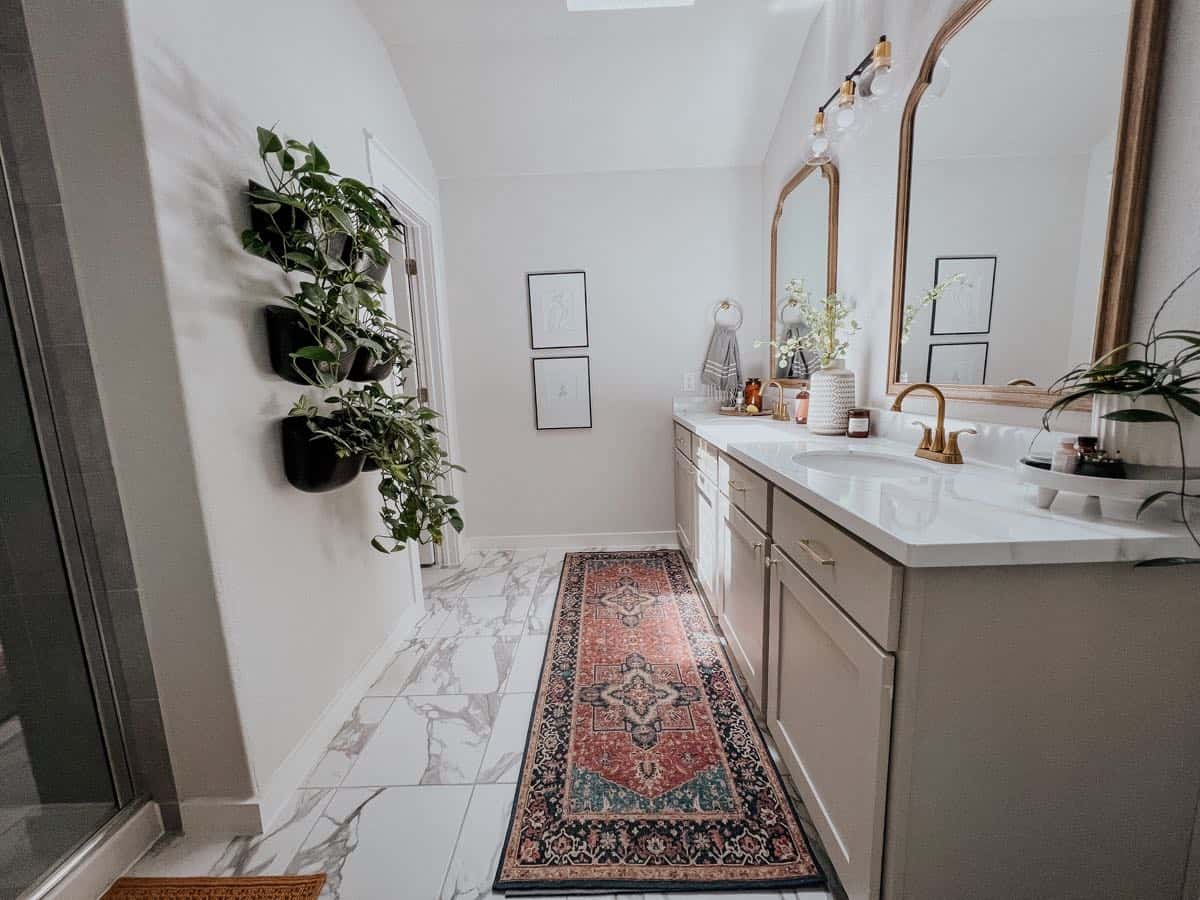
Since we’ve been living in and using this bathroom for a solid year now, I thought it would be worth taking the time to do a quick update. There were several things in there we tried out for the first time (like our DIY epoxy counters, painting the laminate cabinets, and adding a skylight) so I wanted to let you know how everything is holding up.
If you need to catch up on this makeover or want to see all the details before you read on, here’s everything you missed.
Our budget bathroom makeover: recap
- Painting the cabinets
- DIY faux marble epoxy countertop
- Adding a skylight
- Wallpaper in the water closet
- Easy over the toilet storage
- Replacing the towel bar
- Adding a living plant wall
- Bathroom wall art ideas
- The reveal
so, how’s it holding up?
Everything still looks so great. I am genuinely so glad that we decided not to wait until we could do a full makeover in here, because these small changes made the biggest difference in how this room feels. Someday, I’d still like to renovate the shower and do a few other things, but the changes we made here were enough to keep me happy with this space for years to come.
Like I mentioned before, I tried out several new-to-me projects and products in here, so I want to do a rundown of what they were, what we think one year in, and if we’d choose them again.
painting the laminate cabinets
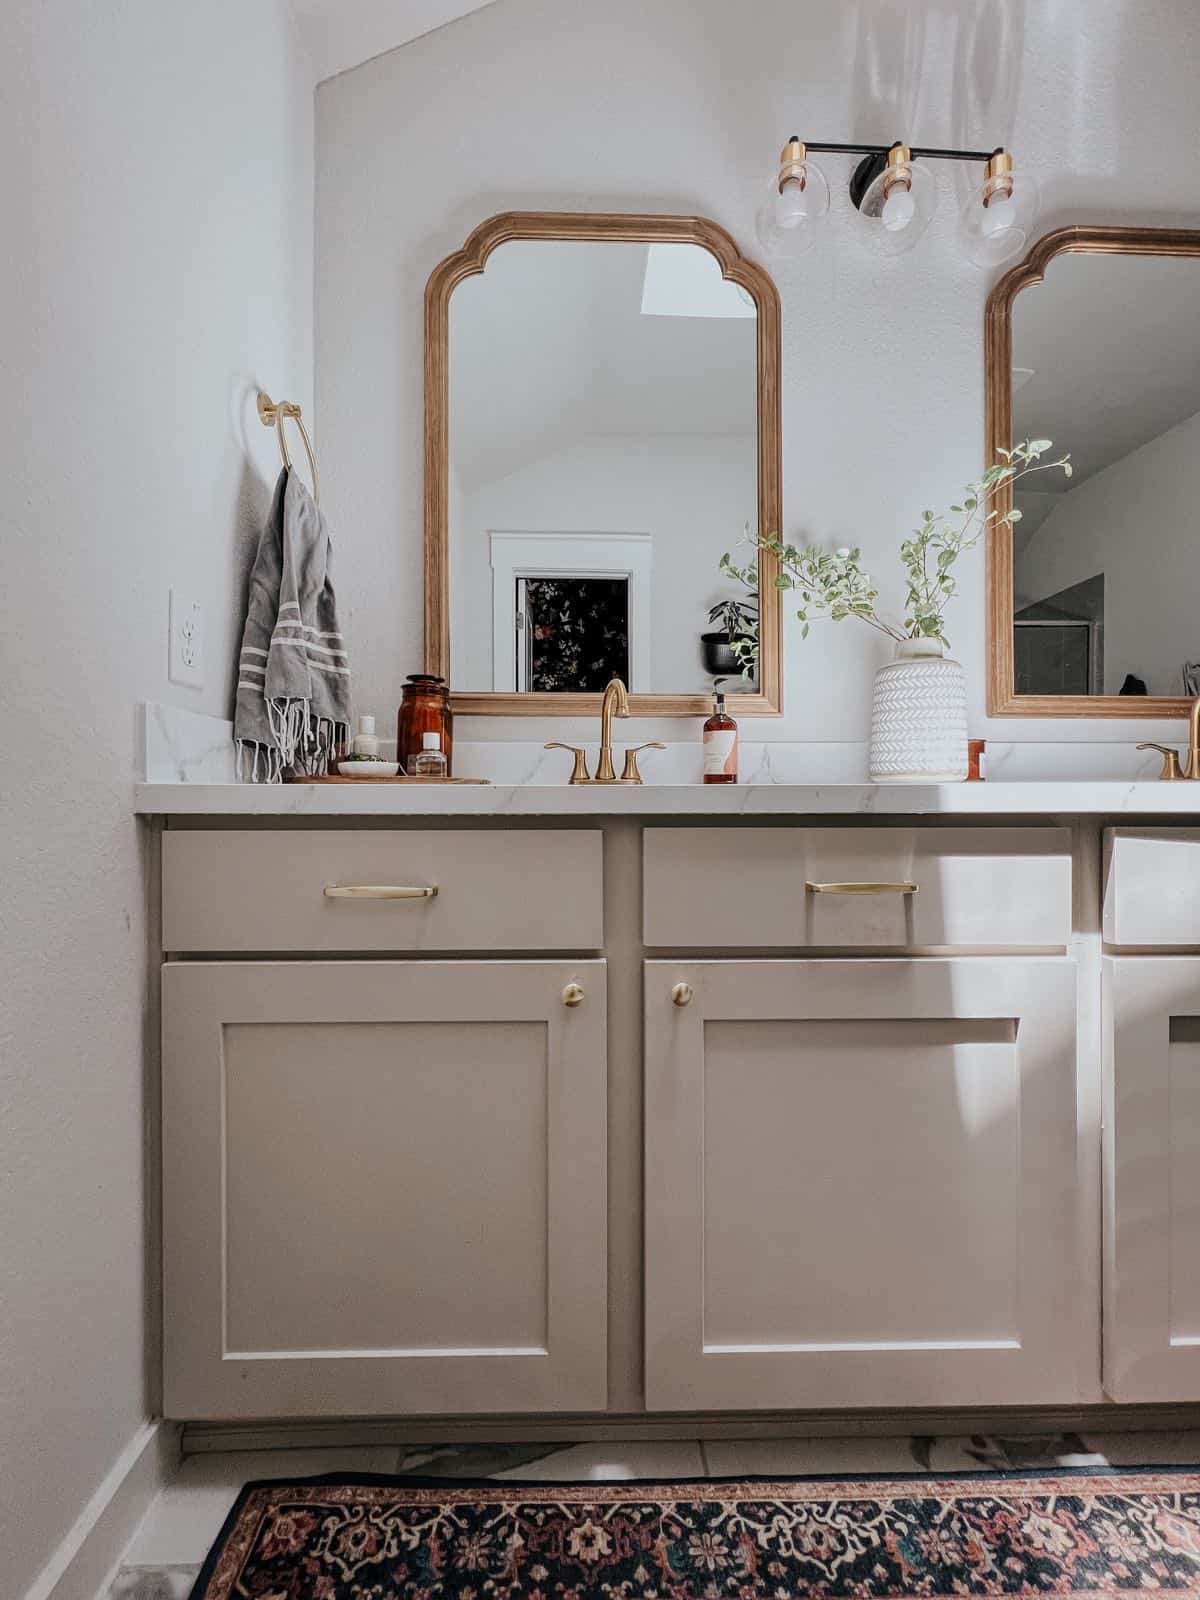
I was nerrrrrvous about this project. I hadn’t ever painted factory-finish laminate cabinets, and I wasn’t sure it was going to hold up at all.
But, in an honestly surprising turn of events, it has held up GREAT!
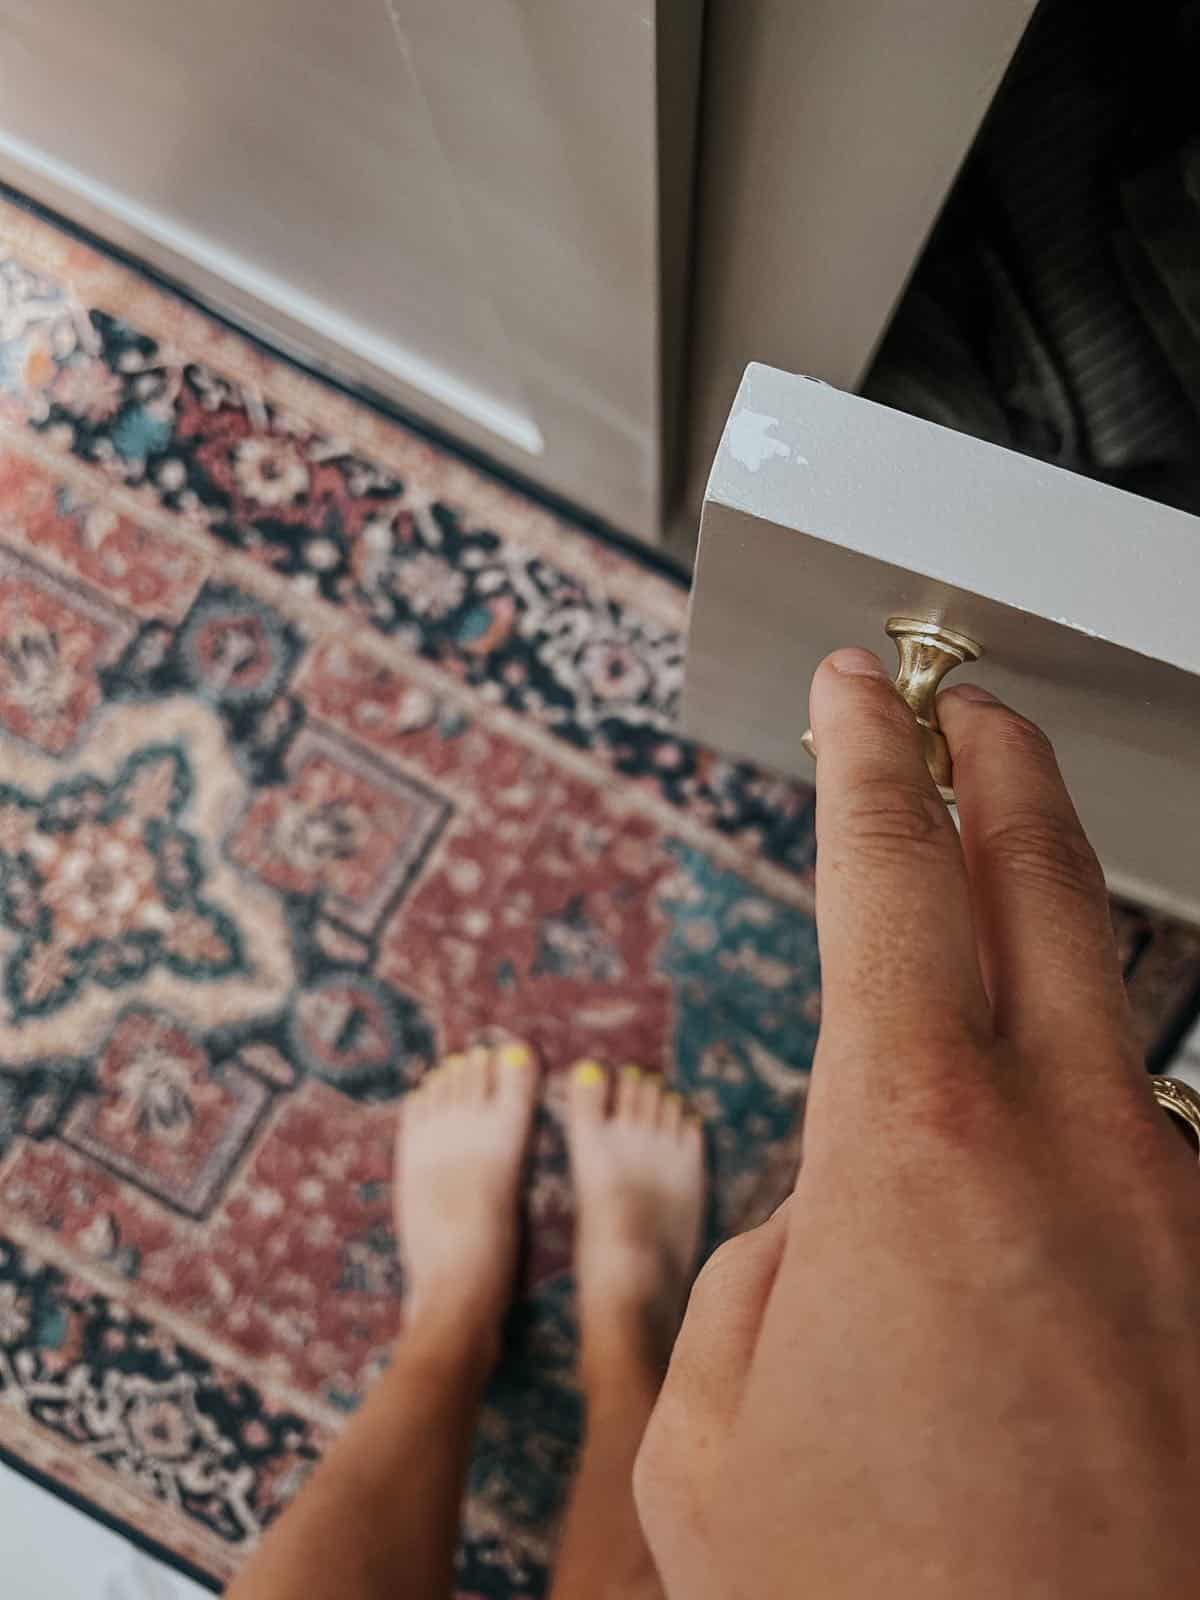
There are small chips on the top of a couple of the doors. That happened during installation – paint generally isn’t fully cured until a week or so after it dries, which means it was still fragile when I put the doors back on. I chipped the paint a bit and didn’t take the time to fix it.
Other than that, the cabinets are still PERFECT. I really am a bit shocked that there aren’t more dings because laminate is hard to paint. But, the paint I used has really impressed me. It honestly gives me hope that if I ever decide to paint our kitchen cabinets, they’ll hold up!
Would we do this again? 10/10 – absolutely!
Faux marble epoxy counters
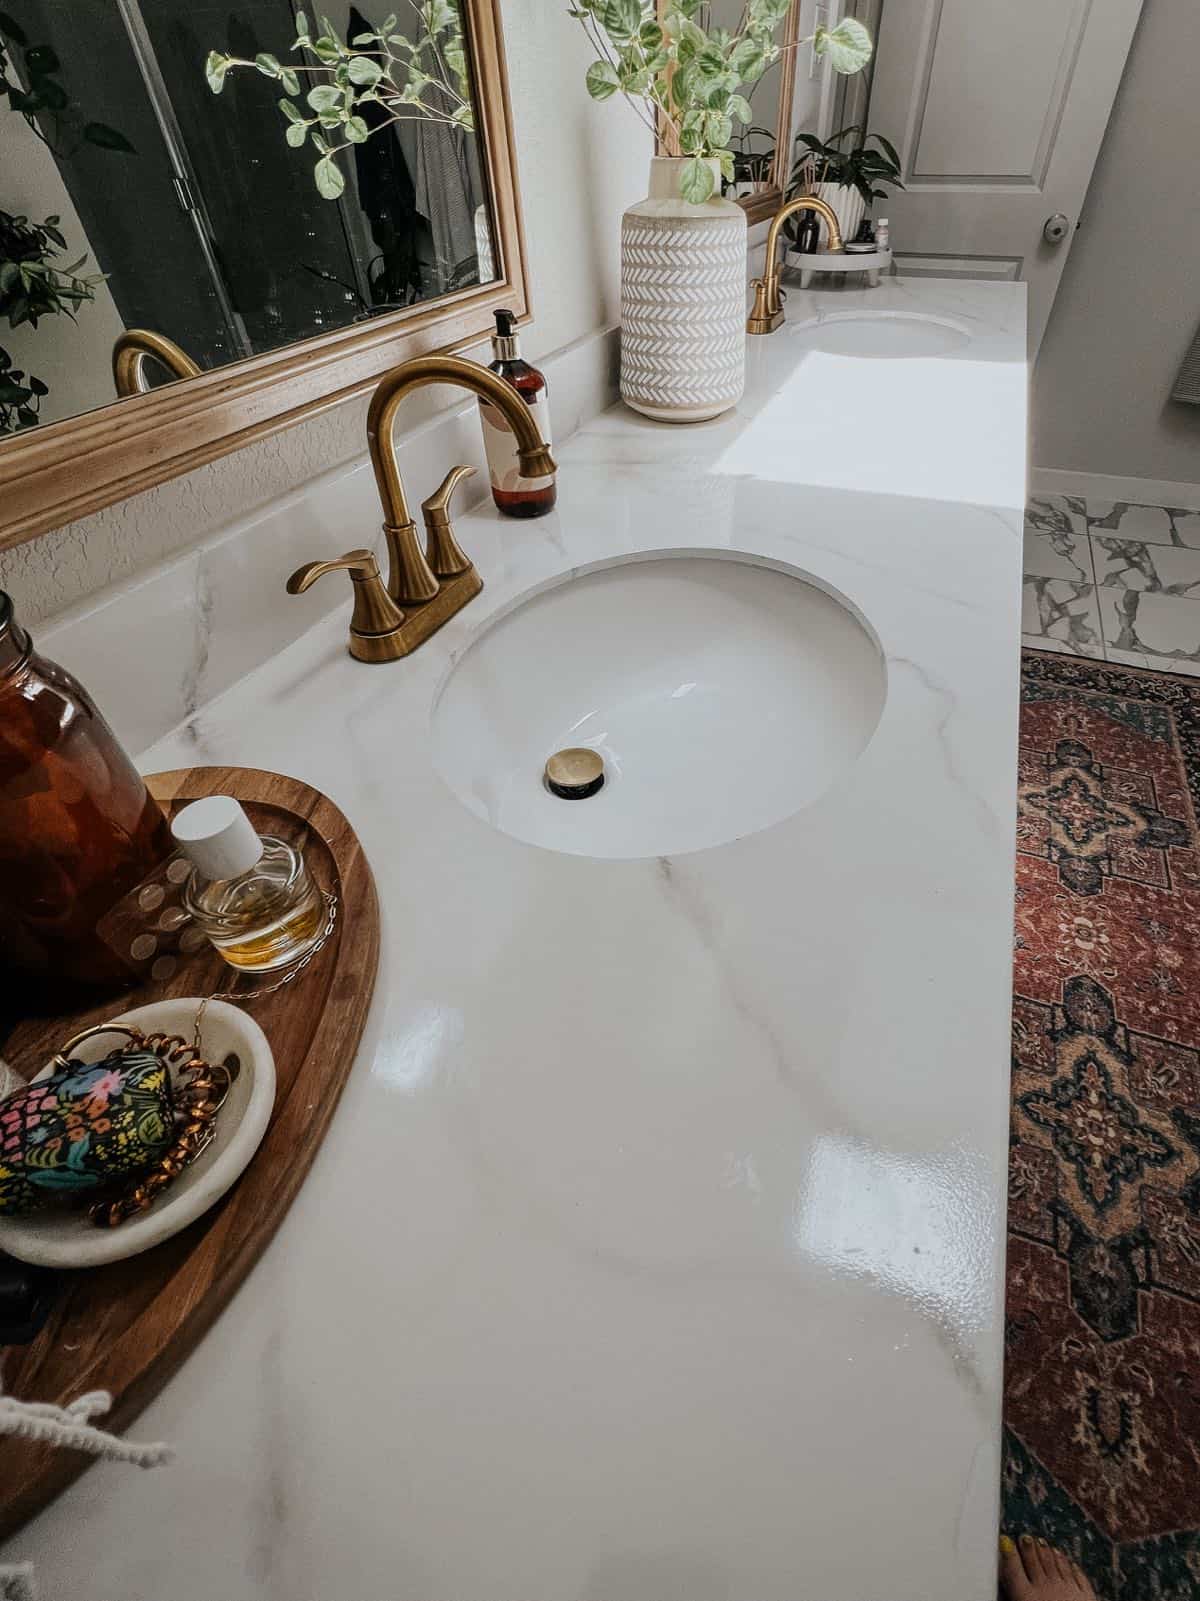
This is another project I was really nervous to try. I absolutely loathed our original countertops for so many reasons, and the only reason I decided to go for it is because I knew there was no way I could make it any worse.
I touched on this in my latest “How’s it Holding Up?” post, but these are looking really great too! I don’t baby them AT ALL, and as a result there are a few small stains and marks on them. But, absolutely nothing major – you have to know they’re there to even see them.
Would I do it again? Yes, I already did! I used the same product (in fact, the leftovers from the same kit!) in the boys’ bathroom upstairs. And I LOVE it. It gets used a lot less because the kids’ morning and evening routines are so much simpler than ours, so it’s still in perfect condition.
I truly love and believe in this product, and I’d use it again and again and again. it’s fun, it’s easy, and the transformation is absolutely incredible.
Adding a skylight
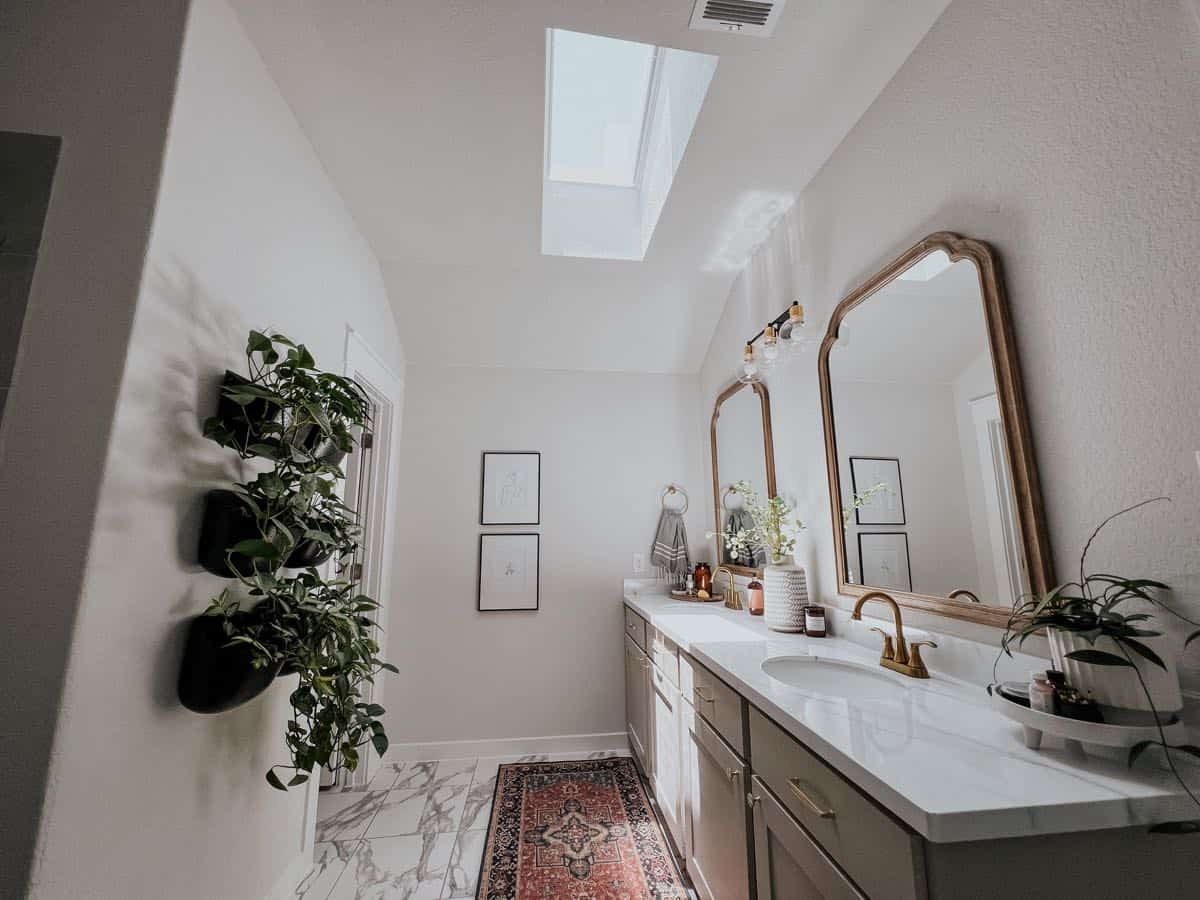
This skylight was the biggest game-changer in this bathroom. I cannot even begin to tell you what a difference it made and how much I adore it. I’m a little like a plant in that I begin to wilt and become very dramatic without natural light. I need as much of it as possible in every room of my house.
Adding a skylight to our primary bathroom not only brought some much-needed light to this previous cave of a room, it also allowed me to add some plants to the room! And we all know that plants make every room better. If I could only pick one thing we did to this room to keep, it would be this. I love that when the weather is nice, I can open it up for some fresh air while I shower. I love the light it brings to the space and the fact that I almost never have to turn the light on anymore. I love everything about it and I’d add a skylight to every room of my house if I could!
the water closet
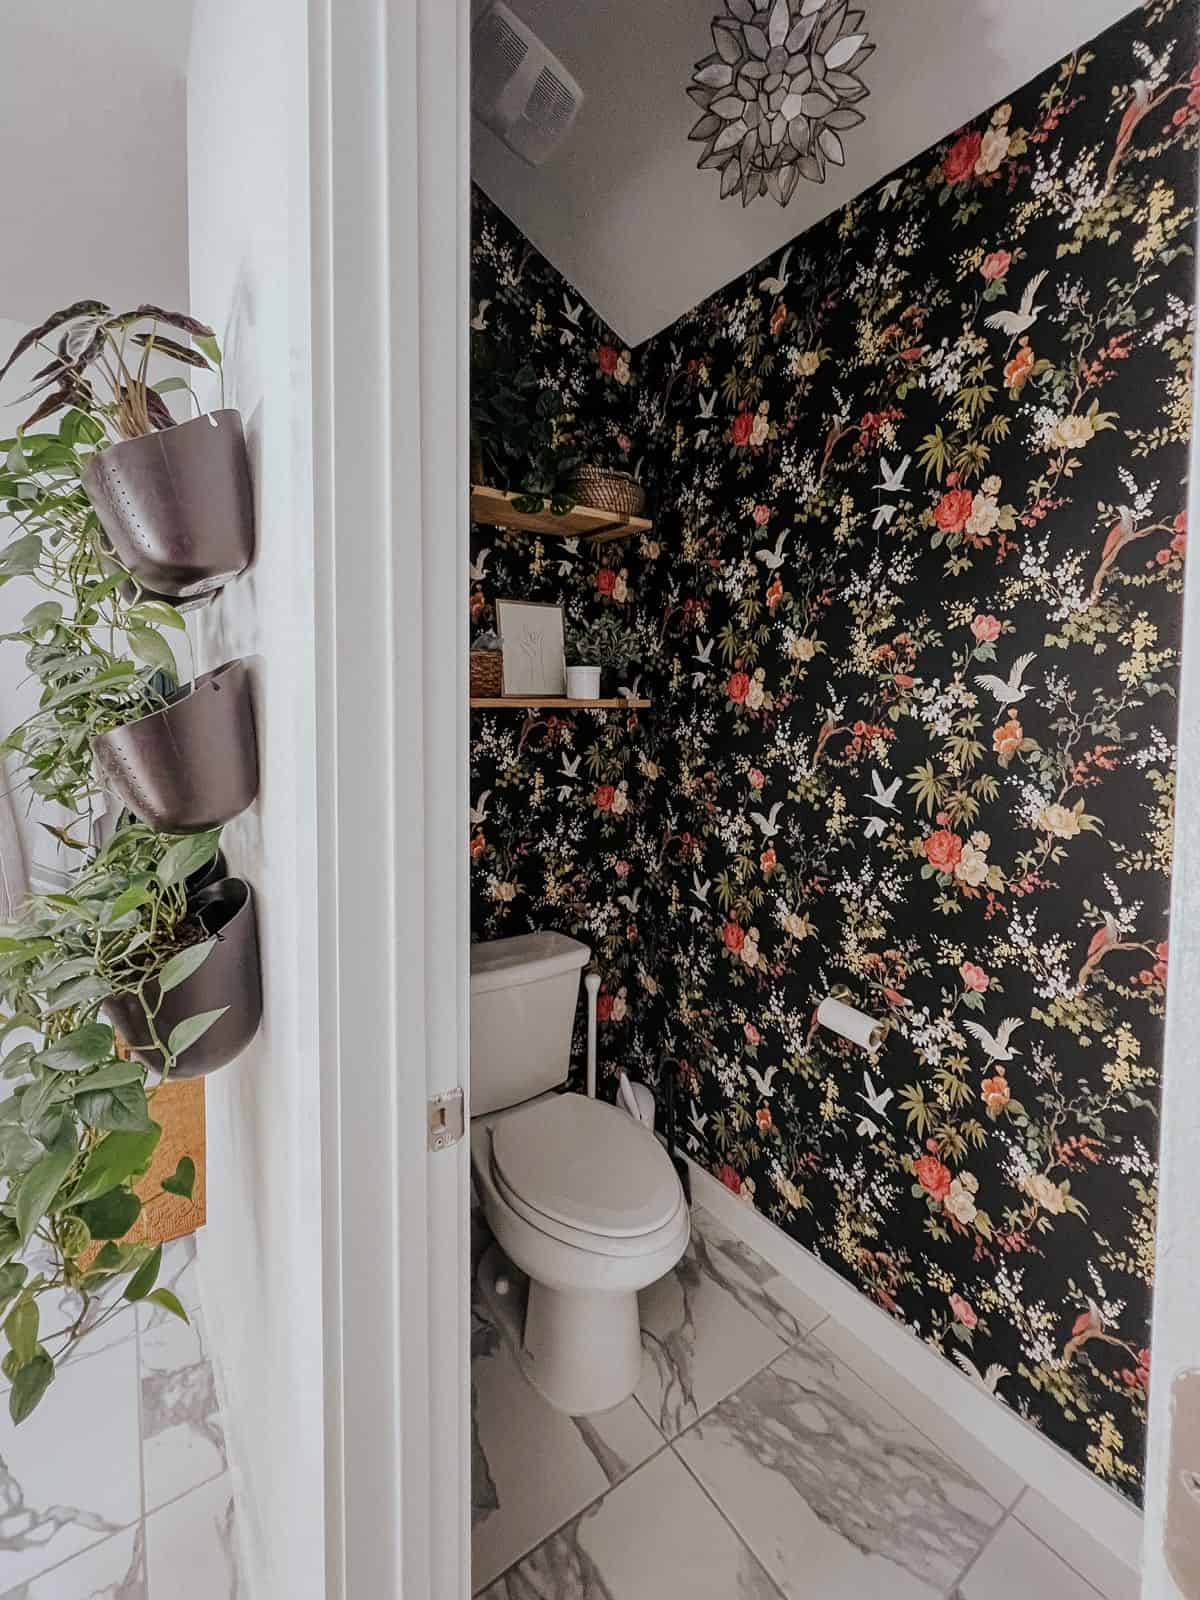
I love that we have this separate little water closet in our bathroom and I really wanted to do something bold and dramatic in there to make it feel special. I found the most beautiful black floral wallpaper that makes me swoon. And, I also added some simple shelves to hold a few faux plants, extra toilet paper, and a few other essentials.
I think this was one of the best decisions I could have made because this tiny little room really shines! I love keeping the main bathroom relatively neutral and calming, and having this fun little space tucked away makes me smile. It taught me that I really like making bold choices in tiny spaces, and has given me a lot of inspiration for when I tackle our powder bathroom (hopefully later this year).
I don’t think there’s anything in this space I’d do differently. I am still considering a few additions: I’d love to swap out the light switch and plate for a gold one, and I may still paint the ceiling black. But, I 100% would make the same decisions again, and the wallpaper has held up great, even with the extra humidity in the room.
the plant wall
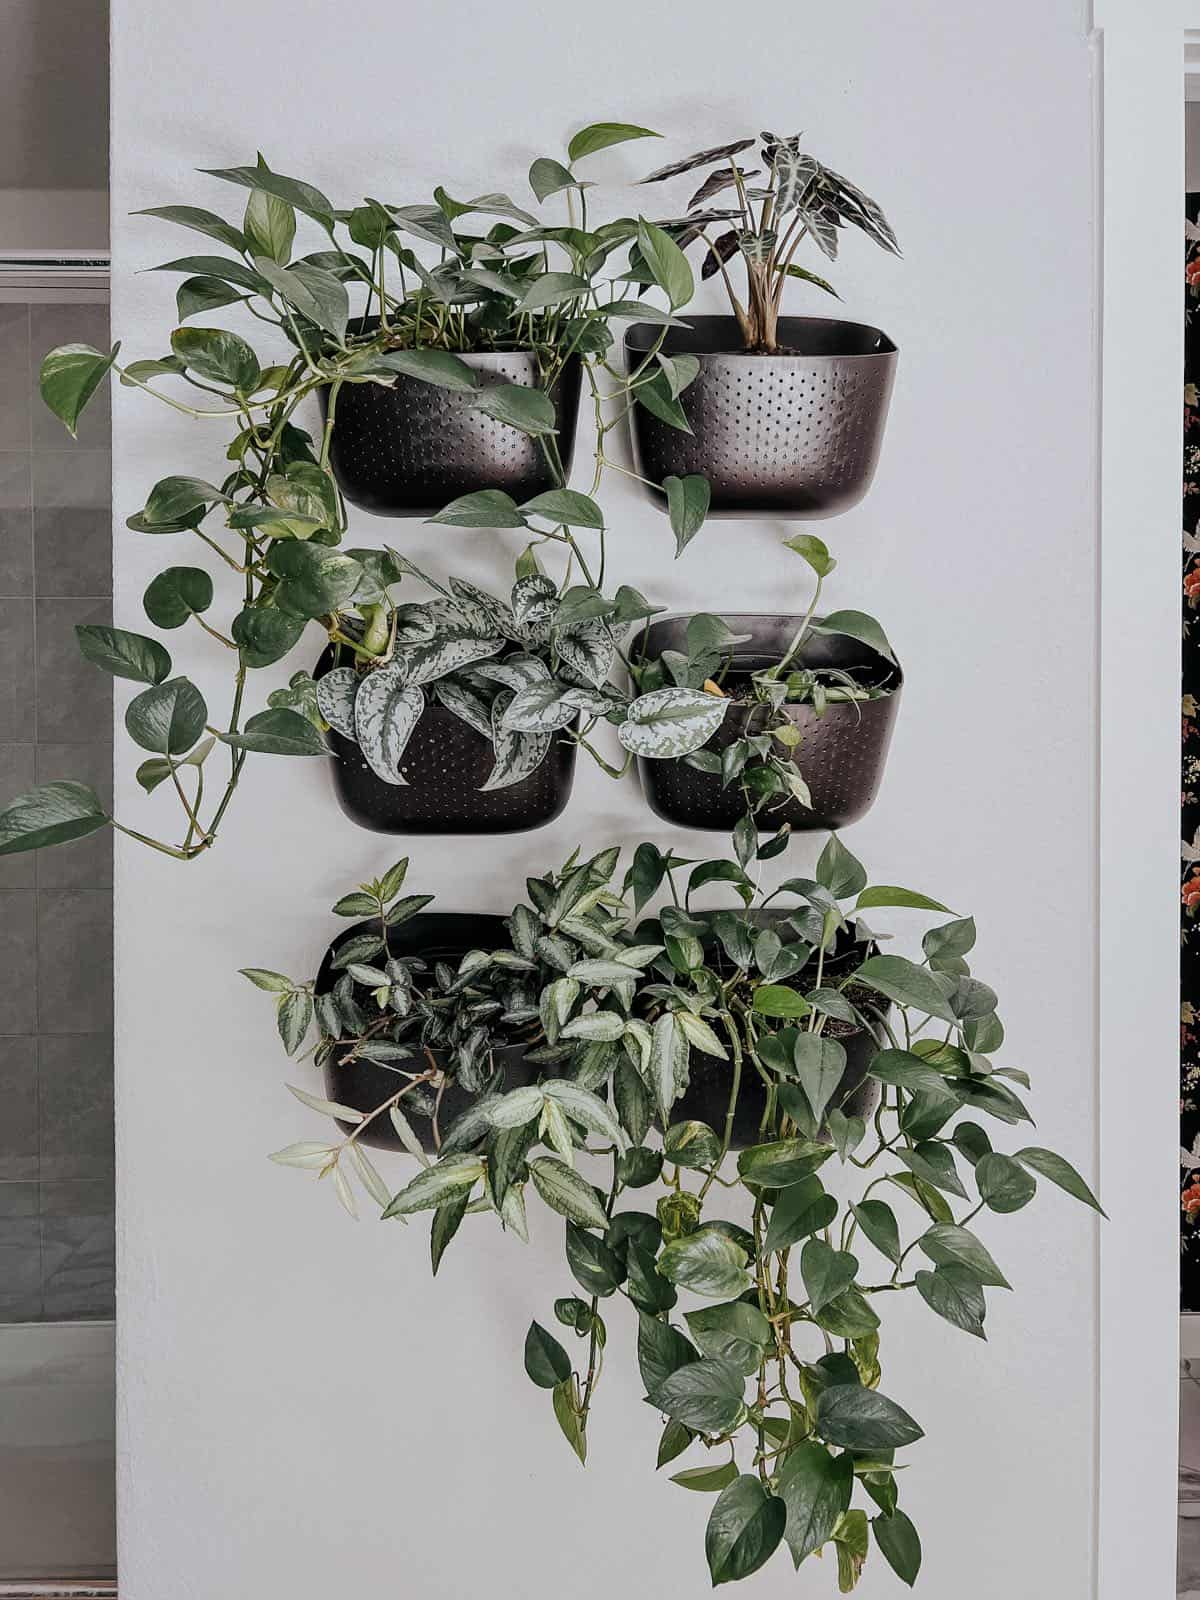
The last big project we did in here was the plant wall across from the vanity. I used WallyGrow planters and it was my first experience with them. I wasn’t sure how a self-watering wall planter would work, and I worried about the lack of drainage. So far, I’ve really enjoyed them! I have killed a few plants in them, but they were mostly ferns and I kill every fern that comes into my car. So, I’m not sure I can blame the planters.
Right now, I have pothos in half of the planters, along with Alocasia Sanderiana, a Hoya, and a Polynesian Ivy. They’re all very happy and thriving!
Would I use these wall planters again? 100%! I’ve actually been considering them for a few different spaces in my house. So, we’ll see!
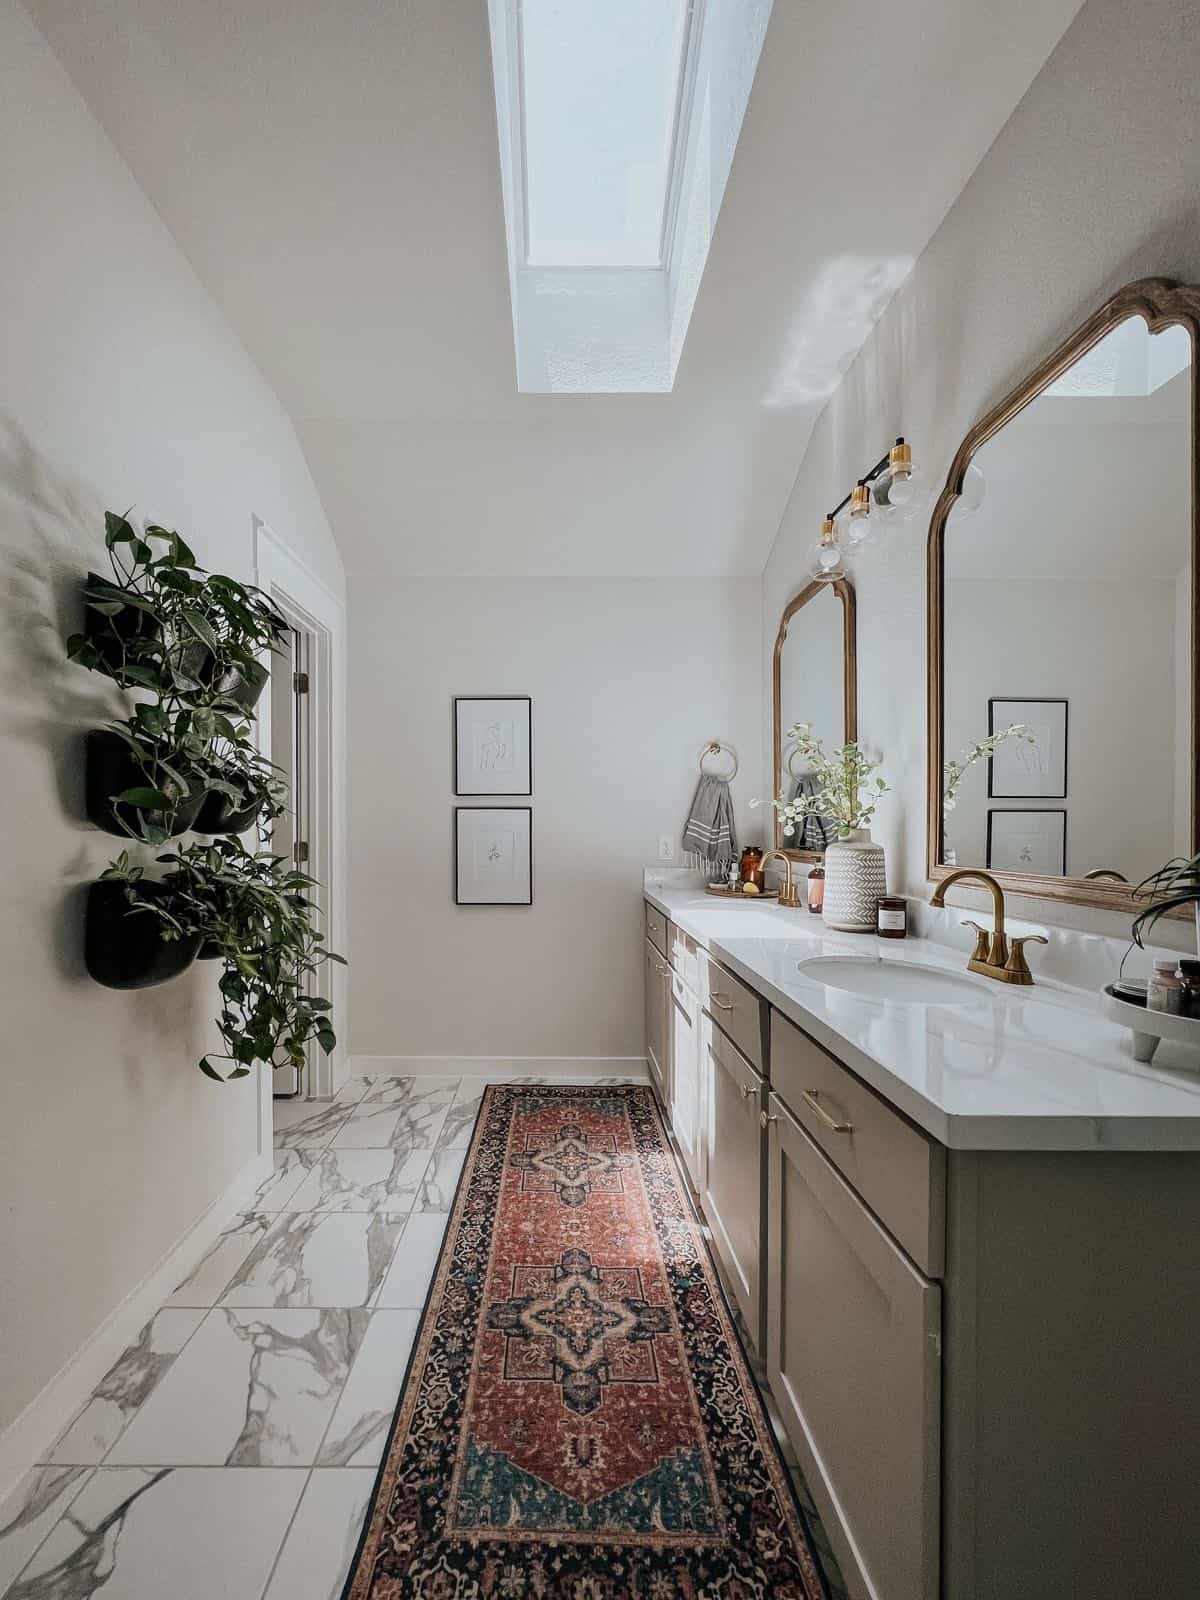
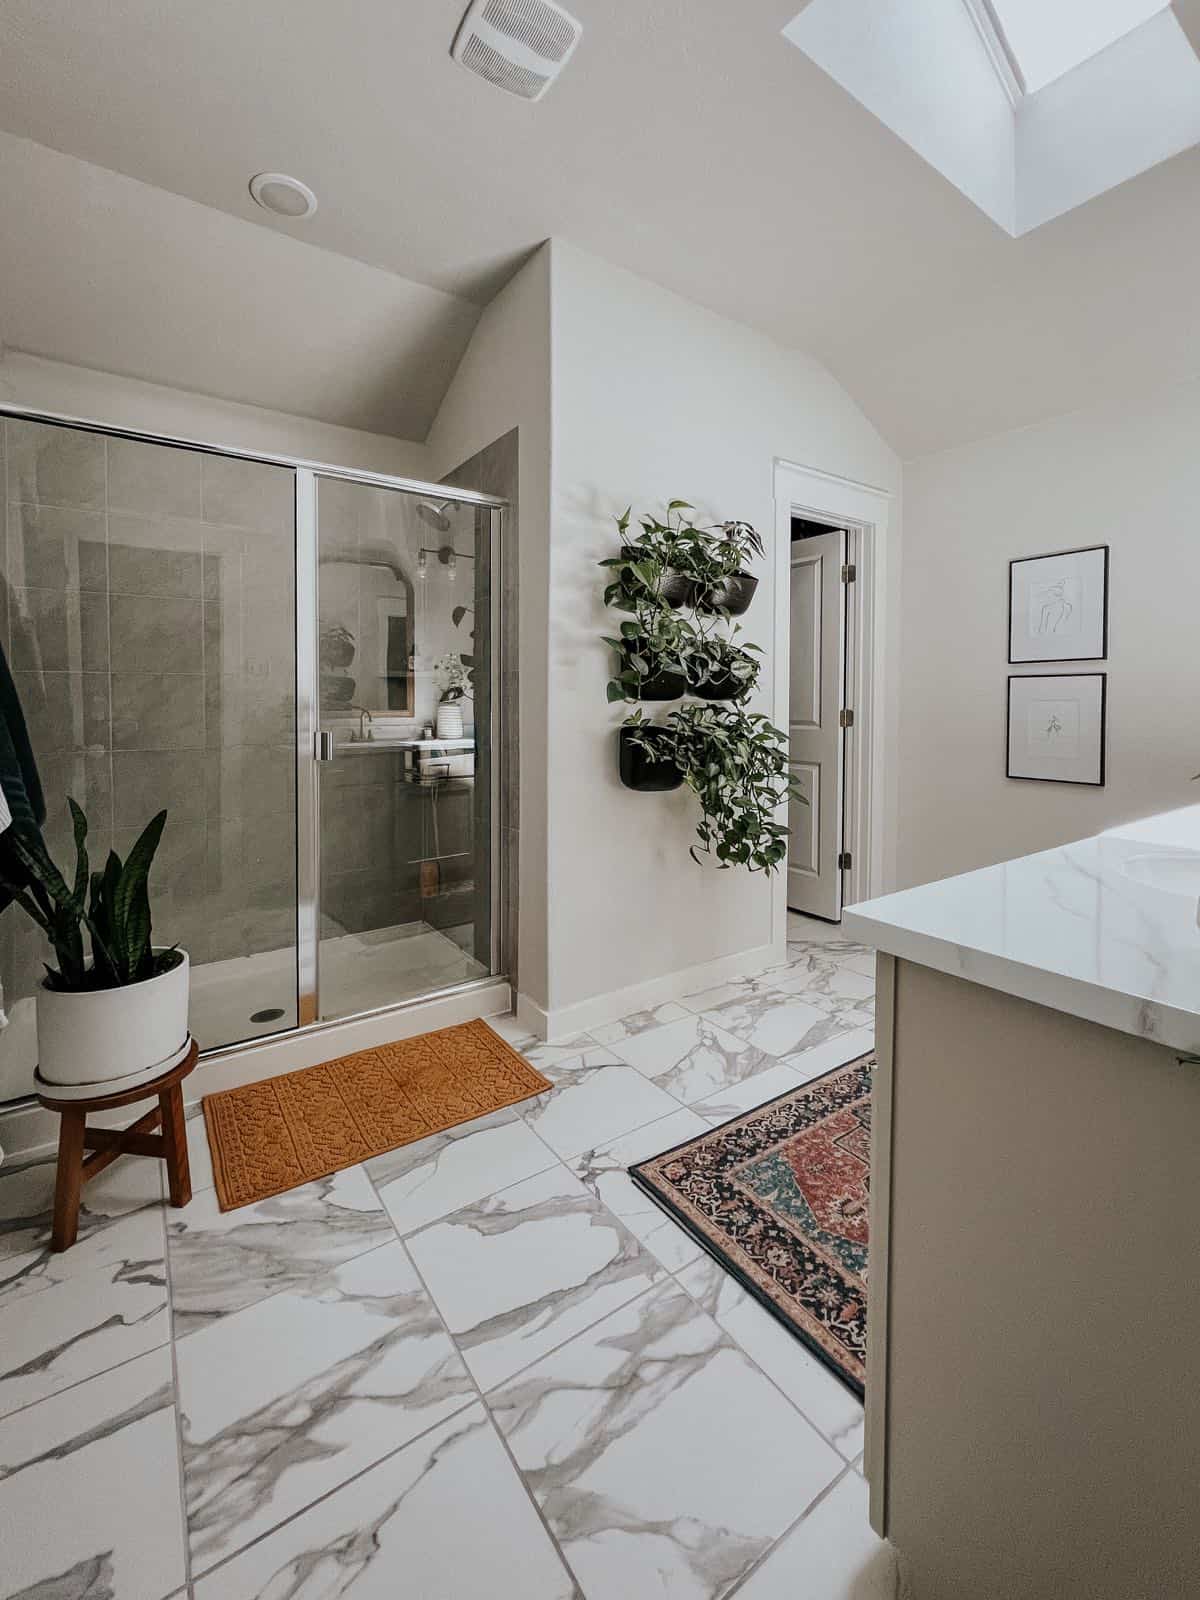
And that’s our bathroom! It feels great to be able to say that one year later everything is still in great condition. And, I’m still thrilled with all of the choices we made! This makeover laid a great foundation for an eventual larger makeover (I can’t wait to tackle my shower someday!), and I think pretty much all of these projects will stick around for a long time to come.
Bathroom Sources
- Wall color: First Star by Sherwin Williams
- Cabinet paint color: Sculptor’s Clay by Behr
- Floor tile (similar)
VANITY AREA
- Epoxy Countertop Kit
- Vanity pulls
- Vanity knobs
- Runner
- Mirrors
- Vanity light
- Faucets
- Towel ring
- Matchstick holder
- Hand soap
- Wooden Tray (similar)
- Amber container
- Ring dish (similar)
WATER CLOSET
OTHER
Want more bathroom inspiration?
- You can see the boys’ bathroom here – it was a really affordable makeover that I adore.
- Here’s another budget bathroom makeover we did in our last house.
- And, here’s the boys’ bathroom from our last house, which got a full gut job renovation!
- And finally, our biggest bathroom makeover ever was in our first home.
The post Our Bathroom Makeover: One Year Later appeared first on Love & Renovations.
